Consultation Flow :
I'm Looking for
Get Started Now
Our specialist will get back to you within 1 working day!
Typical Installation Ways for LED Aluminum Profiles
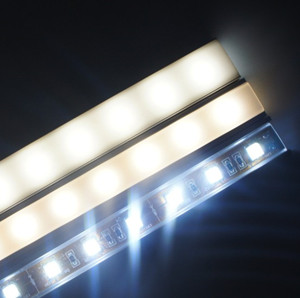
LED Aluminum Profile for strip light provides a modern and clean linear lighting solution for any type of application. Easily create custom low voltage lighting fixtures, by using aluminum profiles and covers with LED strip lights. The modern, long lasting, bright, and eco-friendly linear lighting fixtures are perfect for any home, business, indoor and outdoor lighting applications.
Installing steps:
A. Prepare your wire for soldering: Before soldering to strip remember to put your wire through the end cap with a hole.
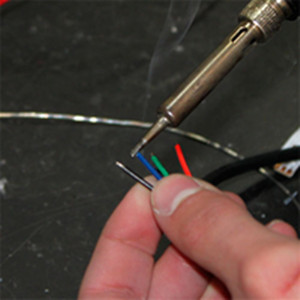
B.Solder wire to the strip light and test connection: Be sure no solder points or fray wires are touching,test your connection before installation.
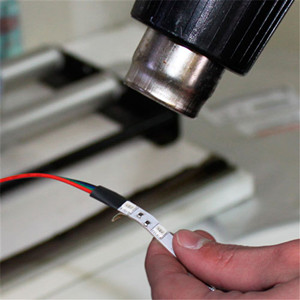
C.Heat shrink over a connection: Exposed copper with no 3M mounting tape or heat shrink will cause an electrical short on the aluminum channel.
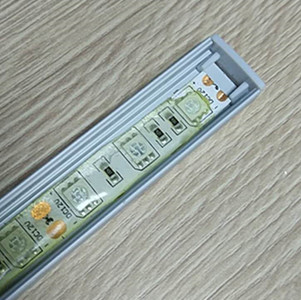
D. Install closed end cap (optional): End caps are an optional accessory and give your channel a finished look while blocking light leakage.

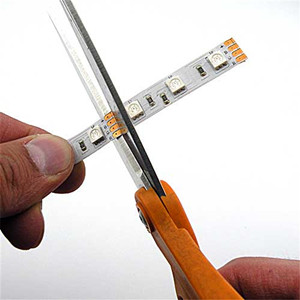
E. Measure and cut strip light: Always cut your strip light on the cut line between the copper pads. Cutting elsewhere will damage that section of the strip.
F. Peel tape and adhere strip: For best lighting results center stick your strip light between end caps or channel ends.
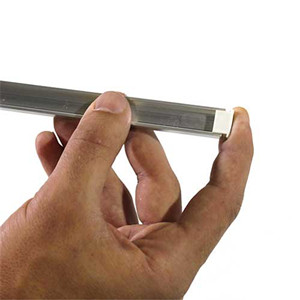
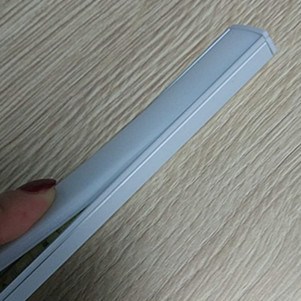
H.Cut and press cover: Be sure to make a straight and square cut to avoid any gaps for light to escape.
I. Wire to power and enjoy: Now that your channel is complete you can wire it to your low voltage power or control source, Install the channel in your prefer installation form--surface, recessed, corner, hanging.
Actually, we can custom your prefer length, things get easier to do with all accessories. Just contact us.
Now let’s view 4 typical installation ways and their effect.
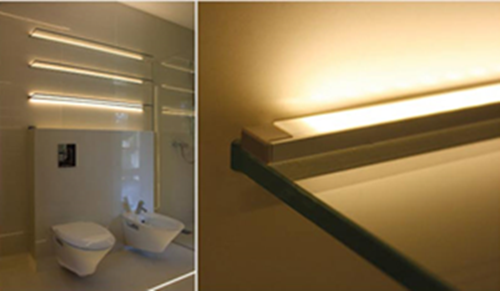
1.Surface Installation.
2.Recessed Installation.
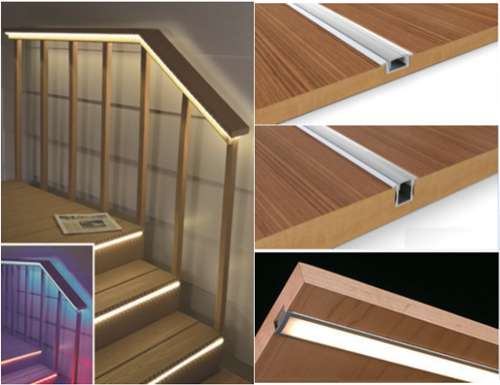
3.Corner Installation.
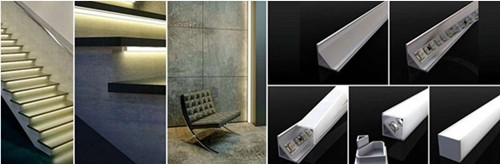
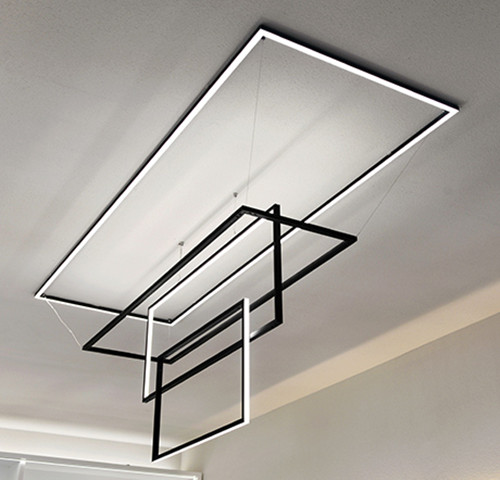
4. Hanging Installation.